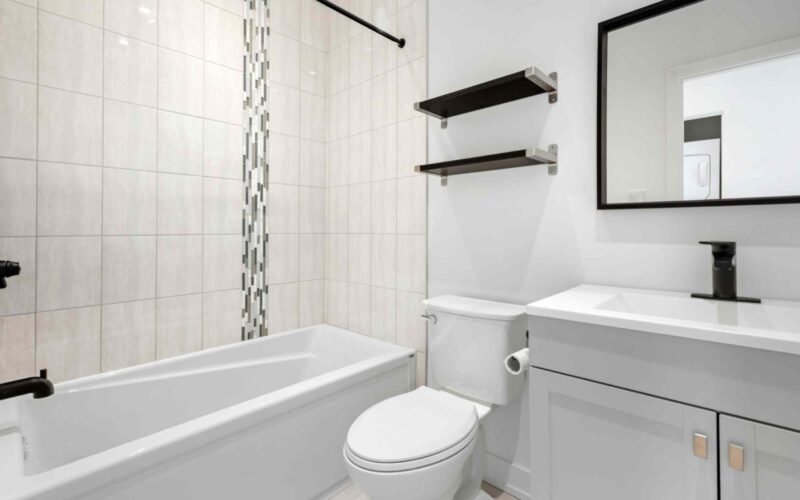
How to Replace a Toilet Without Hiring a Pro
Hey there, DIY enthusiasts! Are you ready to tackle a new home improvement project? Today, let’s dive into a task that might seem daunting at first but is totally manageable with the proper guidance: replacing a toilet. Whether your old one is on the fritz or you’re simply craving a bathroom refresh, learning how to replace a toilet will serve you well.
Understanding the Basics
First off, why replace a toilet? Maybe it’s for aesthetic reasons, perhaps it’s leaking, or it could be that you’re going for a more water-efficient model. Whatever your reason, you’re about to make a significant improvement to your home. Knowing how to replace a toilet can save you money and give you the satisfaction of completing a rewarding DIY project.
Tools and Materials
Before we get our hands dirty, let’s gather our tools and materials:
- A new toilet (obviously!)
- Adjustable wrench
- Screwdriver
- Putty knife
- Wax ring
- Toilet flange
- Towels or rags
- Bucket
- Old newspapers or a drop cloth
- Bathroom cleaner
Step 1: Remove the Old Toilet
First thing’s first – shut off the water supply to your toilet. This is usually done via a valve near the base of the toilet. Once that’s turned off, flush the toilet to drain the water from the tank and bowl. There might still be a bit of water left, so have a bucket and some towels handy to catch any drips.
Next, disconnect the water supply line from the toilet. Then, remove the nuts from the bolts that hold the toilet to the floor. These can be found at the base of the toilet. If they’re stubborn, a bit of WD-40 can help loosen them.
Once the nuts are off, gently rock the toilet to break the wax seal and lift it off. Be careful – toilets are heavier than they look! Set the old toilet on newspapers or a drop cloth.
Step 2: Prepping for the New Throne
With the old toilet out of the way, it’s time to clean up. Scrape off the old wax ring from the flange and the floor. Check the flange (the piece that connects the toilet to the drain pipe) for damage. If it’s cracked or broken, replace it.
Step 3: Installing the New Toilet
Before setting the new toilet in place, attach a fresh wax ring to the bottom of the toilet bowl. Carefully align the toilet with the flange bolts and lower it down. Press down firmly to set the wax ring.
Add the nuts to the bolts and tighten them gradually, alternating sides to ensure even pressure. Don’t overtighten, as this can crack the porcelain.
Step 4: Finishing Touches
Attach the tank if it’s separate from the bowl, following the manufacturer’s instructions. Reconnect the water supply line and turn the water back on. Give it a test flush to ensure everything is working correctly and there are no leaks.
Step 5: Clean Up and Admire Your Work
Give the area a good clean, dispose of the old toilet (many areas have specific disposal methods for toilets due to their environmental impact), and pat yourself on the back. You’ve just successfully replaced a toilet!
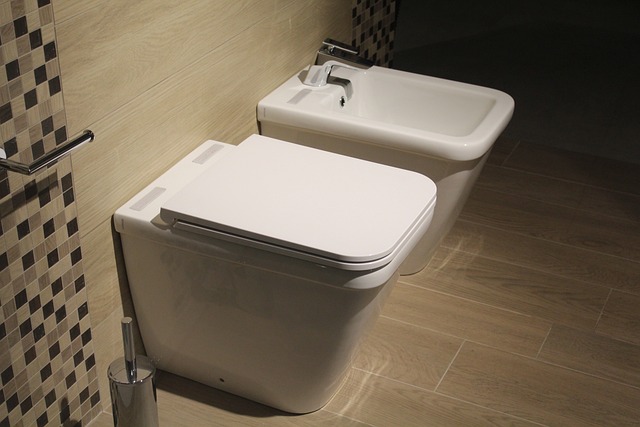
When embarking on the journey of replacing a toilet, the first and arguably most crucial step is selecting the suitable model. This decision goes beyond mere aesthetics; it’s about finding a balance between functionality, efficiency, and style. Start by considering the size of your bathroom. Measure the rough-in – the distance from the wall to the center of the toilet flange – to ensure your new toilet fits perfectly. Most standard toilets have a 12-inch rough-in, but a 10-inch or 14-inch might be necessary in tighter spaces. Next, think about water efficiency. Opting for a low-flow toilet, which uses less water per flush, can significantly reduce your water bill and is better for the environment. Models with a dual flush system offer even more efficiency by providing two flush options for liquid or solid waste.
Additionally, comfort and height are paramount. Standard toilets are about 15 inches from floor to seat, but many people find the slightly taller ‘comfort height’ toilets, which are 17 to 19 inches high, easier to use. This is especially true for taller individuals or those with mobility issues. Then, there’s the choice between one-piece or two-piece toilets. One-piece models are sleek and easier to clean, while two-piece toilets are typically more affordable and have a traditional design. The shape of the bowl – round or elongated – also impacts both comfort and space usage. Elongated bowls are more comfortable but take up more room, making round bowls a better choice for small bathrooms. By considering these factors, you ensure your new toilet looks great and meets your practical needs.
Final Thoughts
Replacing a toilet might seem like a hefty task, but with the right tools and a bit of know-how, it’s completely within your reach. Not only does it add to the functionality and aesthetics of your bathroom, but it can also increase the value of your home. Plus, the satisfaction of completing a home improvement project like this is unbeatable.
Remember, if you ever feel out of your depth, feel free to call in a professional. It’s always better to be safe than sorry, especially when it comes to plumbing.
There you have it, folks – your step-by-step guide on how to replace a toilet. Happy DIY-ing!